Setting Files
This page is about setting file features.
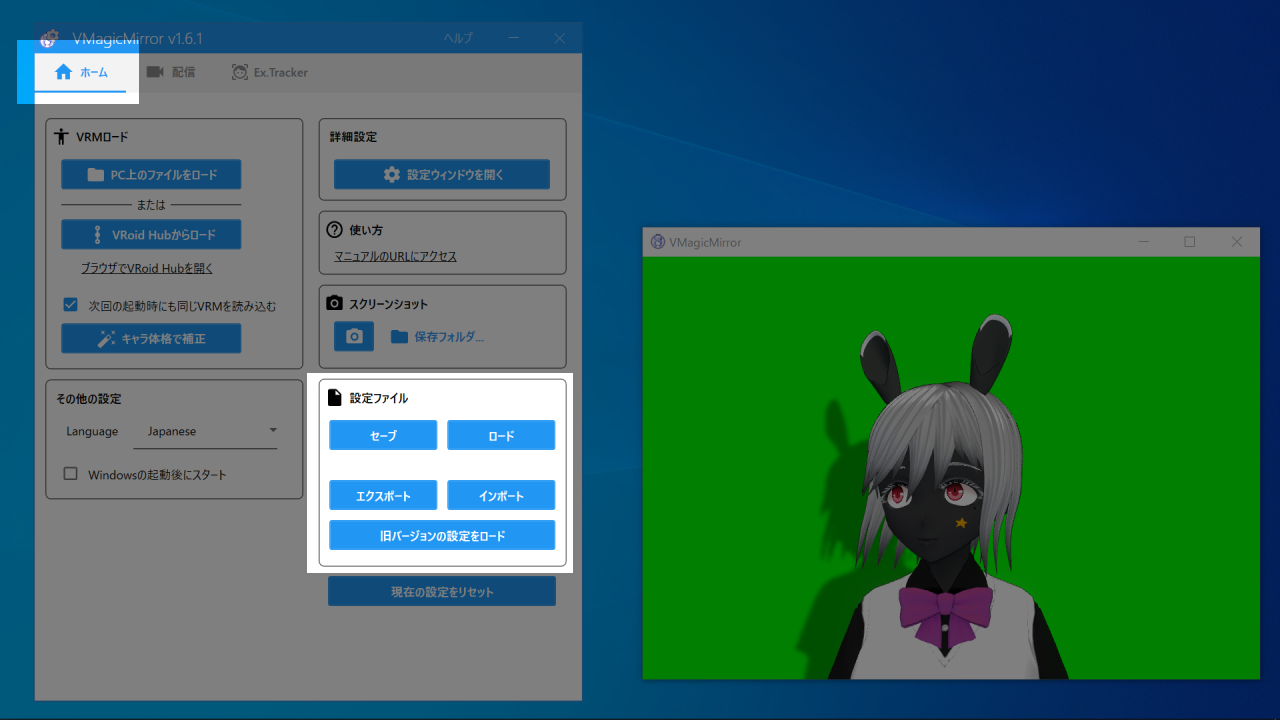
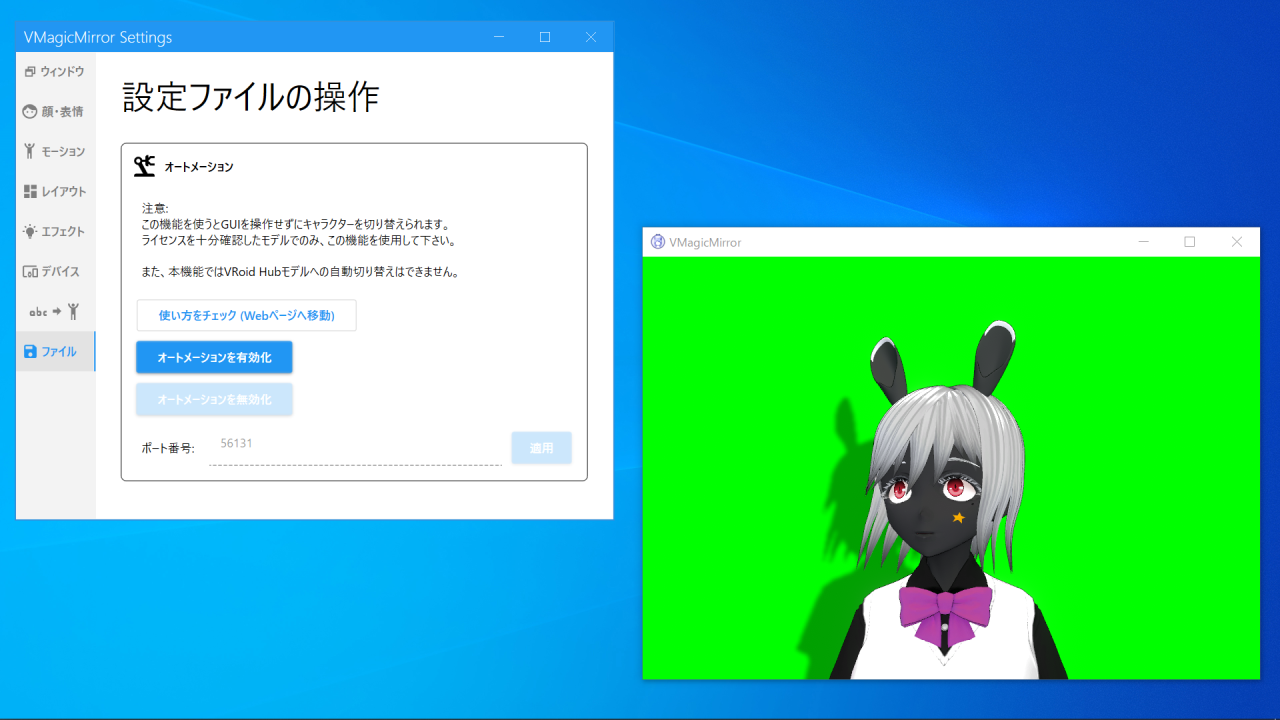
Basic feature is in control panel Home tab, and advanced feature is available from setting window File tab.
When Setting File Management is Needed
First, you do not have to use this feature in many of the cases, because settings are automatically saved.
You should use this feature when you are working with several models, for example when:
- There are same avatar but different clothes models, and you want to switch them quickly
- There are avatars with different proportion or face settings, and you want to switch them quickly
Basic Operation
Basic feature is available in control panel Home tab.
Click Save or Load to save current setting, or load saved data.
In Load you also can select auto save data.
NOTE
Auto save is special data, which is automatically saved data when VMagicMirror quits.
When VMagicMirror starts, auto save data is loaded as the default data.
Load has options Load Avatar and Load Non-Avatar.
When check only Load Avatar, only the avatar is applied in saved data. It is default option, and is useful to switch save avatar with different clothes.
When check Load Non-Avatar, other settings like face tracking and layout etc. will be loaded.
When both option is unchecked, the data will not be loaded.
NOTE
Load feature skips license check for local VRM file, as you have already checked it.
Please reload the same model to show license if you are unclear about license detail.
VRoid Hub model always requires license confirmation, because the license may be changed in server side.
Export and Import is extra features to save and load setting as a file in any folder.
Export does not save avatar info, so Import only load non-avatar settings.
Advanced Feature: Automation
NOTE
This feature requires programming or network knowledge background.
You must use only models with license controlled model, as local VRM file.
VRoid Hub models are not supported in this feature.
With automation feature and UDP messaging, you can load setting file withouy GUI operation.
Automation can be enabled in setting window File tab, > Automation > Enable Automation button.
Confirm the dialog content, and you will also need to allow firewall in first time.
If you do not allow network process in firewall setting, you will have to custom it in Window control panel.
Detail is similar to iFacialMocap connection Troubleshoot Q1 and Q2.
After enable the automation, send JSON text message to load data.
Following is an example of JSON message to send.
{
    "command": "load_setting_file",
    "args":
    {
        "index": 1,
        "load_character": true,
        "load_non_character": false
    }
}
You can change 3 parameters in args.
index: Data index to load. specify an integer value between 1 and 15.load_character: Equivalent toLoad Avatarcheck in basic load GUI. Settrueorfalse.load_non_character: Equivalent toLoad Non-Avatarcheck in basic load GUI. Settrueorfalse.


